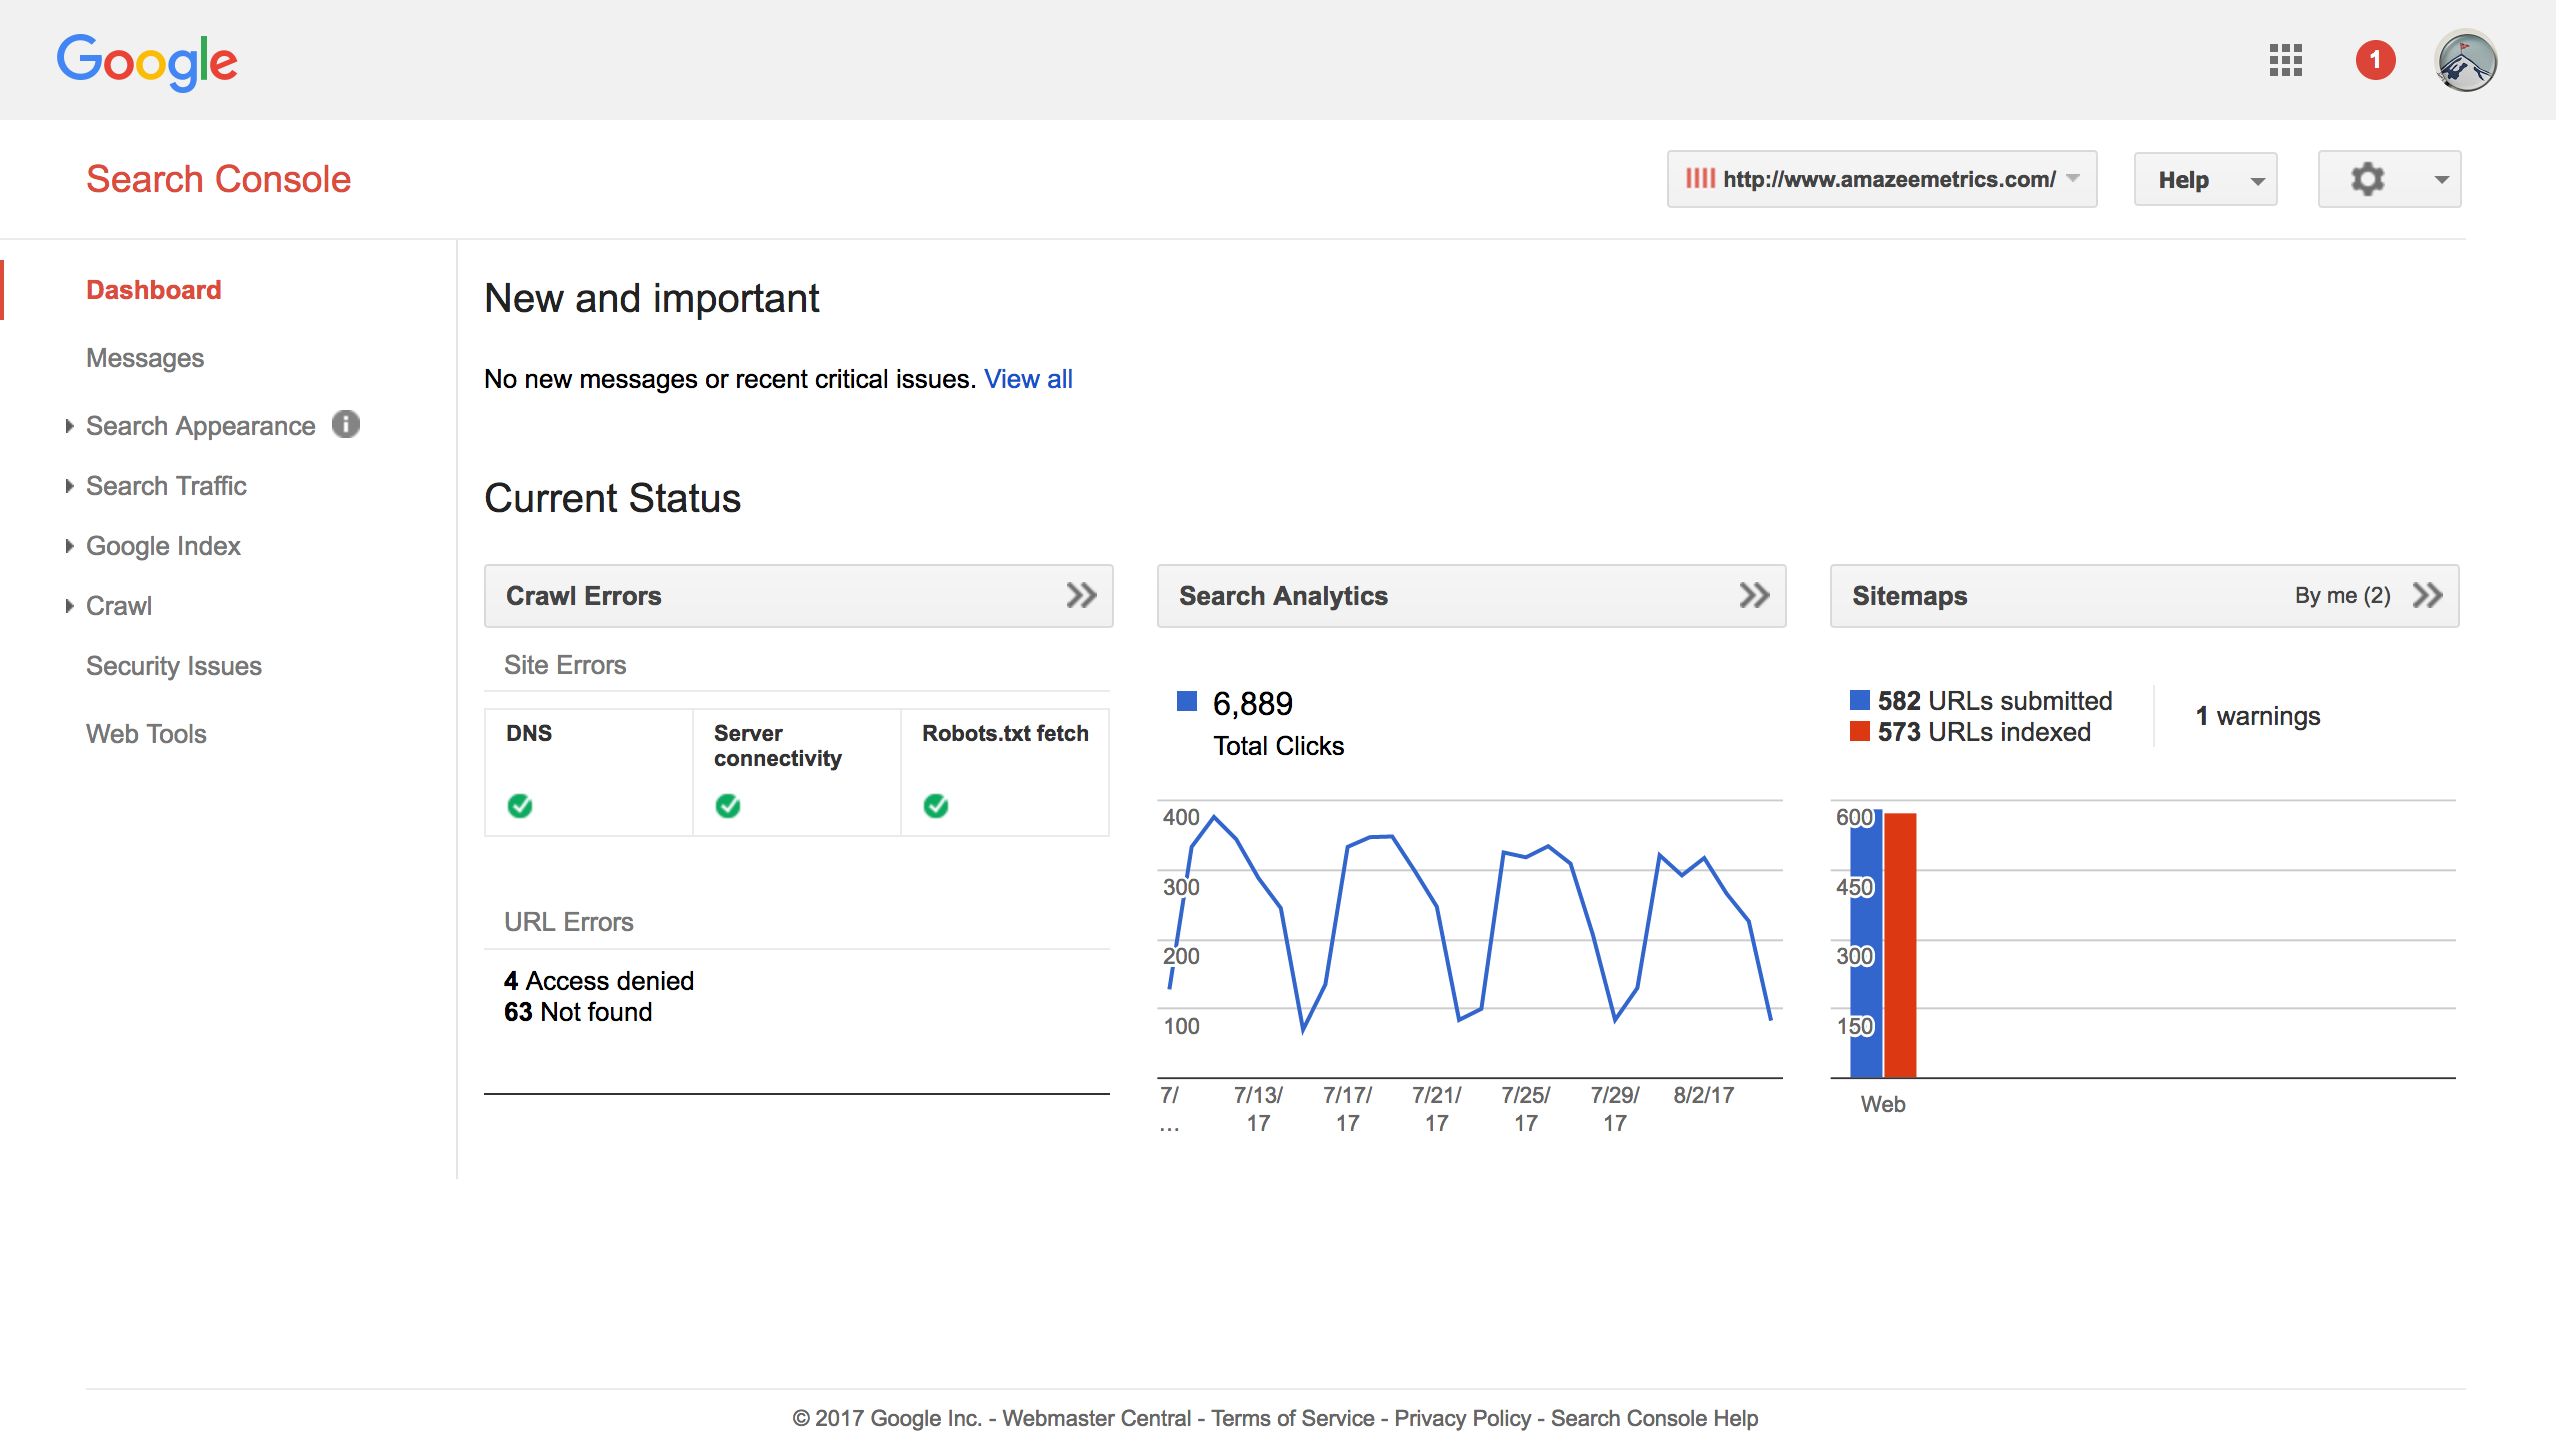
If you want to gain more control of your website and how it appears in the Google Search results, you need the Google Search Console. Google Search Console is a free service offered by Google that allows you to monitor your site’s appearance on Google. It doesn’t matter whether you are new to website maintenance or whether you are a SEO heavyweight, the Search Console can make a positive difference you can learn from.
The Google Search Console, before 2015 known as Webmaster Tools, allows you to make sure that Google can access your website, maintain your website with minimal disruption to search performance and for example to discover which search queries caused your site to appear in the search results. Before you can enjoy the functions the Search Console has to offer, you need to first verify your website. There are six different methods to do this, and in this blog we show you each and every one of them.
Verification Method 1: HTML Verification File
When clicking “Verify this property”, as pictured in the screenshot above, you immediately get taken to the recommended method, which is a HTML file upload. This method is recommended by Google but will only work if you are able to upload files directly to your domain’s web host.

It is important that the HTML file is uploaded to the root folder of your domain. It depends on your hosting provider, but this folder is usually named public_html, www or wwwroot. It is important that the file gets uploaded here, because verification will fail when it is uploaded to a subfolder. Once your file is uploaded, you will want to find it at http://www.yourwebsite.com/yourfilename.html.
Verification Method 2: HTML Tag Verification
If you are HTML-savvy, one sure way to verify your property, is to add a meta tag to your home page. This means that if you would want to verify the Amazee Metrics property, it is important to add the meta tag to https://www.advance-metrics.com/ and not anywhere else.

A frequent error using this method is that the verification meta tag could not be found. Google searches for the meta tag in the <HEAD> section of the page. Make sure that the code snippet is placed as in the example below.

Once you have verified your property, do not remove the meta tag. This would make the verification undone.
Verification Method 3: Verify through Provider
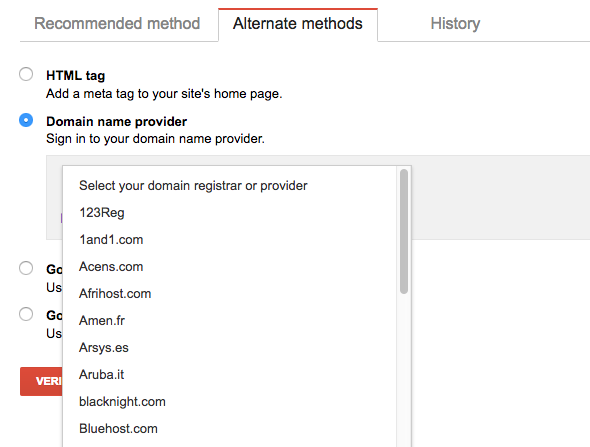
Another way to verify your website property, is to verify it through your domain provider. This is the internet hosting service that stores the data you need to verifiy your property. This method is however only offered for roughly 50 major hosting-providers. By using the drop down menu, you can see if your provider is one of them.

If you are unsure who your domain provider is, you can use this handy tool from ICANN. The next step would be to see if your domain provider is on the list. If it is not, use one of the other verification methods. If it is, then in most cases you can verify your property directly in the Search Console. In other cases, you will have to add a TXT record to the DNS configuration of your domain. This is to prove to Google that you own the actual domain. As every provider has its own ways to set up a TXT record, it is best to check directly with your provider, if you are unsure how to do this.
Verification Method 4: Google Analytics
If you have Google Analytics set up for your website, you will have an easy ride verifying your property in the Search Console. Make sure you have “edit” permissions for your Analytics account and that the tracking code is the asynchronous version. More than often the code is misplaced – don’t make that mistake and make sure that the snippet is in the <HEAD> section of the page.

Verification Method 5: Google Tag Manager
If all of the above-mentioned methods did not work for you, you can still give it a try using Google Tag Manager. This can be a quick fix for your property verification.

You have to make sure that you are using the container snippet and that you have the “manage” permission granted. If this verification method gets you wondering about the possibilities of Google Tag Manager, make sure to read our tutorials about how to use Google Tag Manager.
Verification Method 6: Verification through your CMS
Although these methods are not recommended by Google, there are other ways to verify your property. Most popular CMS providers like WordPress, Joomla and Drupal offer their own tools and fixes for verification. WordPress-Plugin Yoast, for example, has an easy verification method embedded. Just like this extension for Joomla, it doesn’t only take care of the Search Console, but also verifies Bing and Yandex Webmaster Tools. Drupal developers would go for the meta tag verification method, but would need to have the right module available for it.


